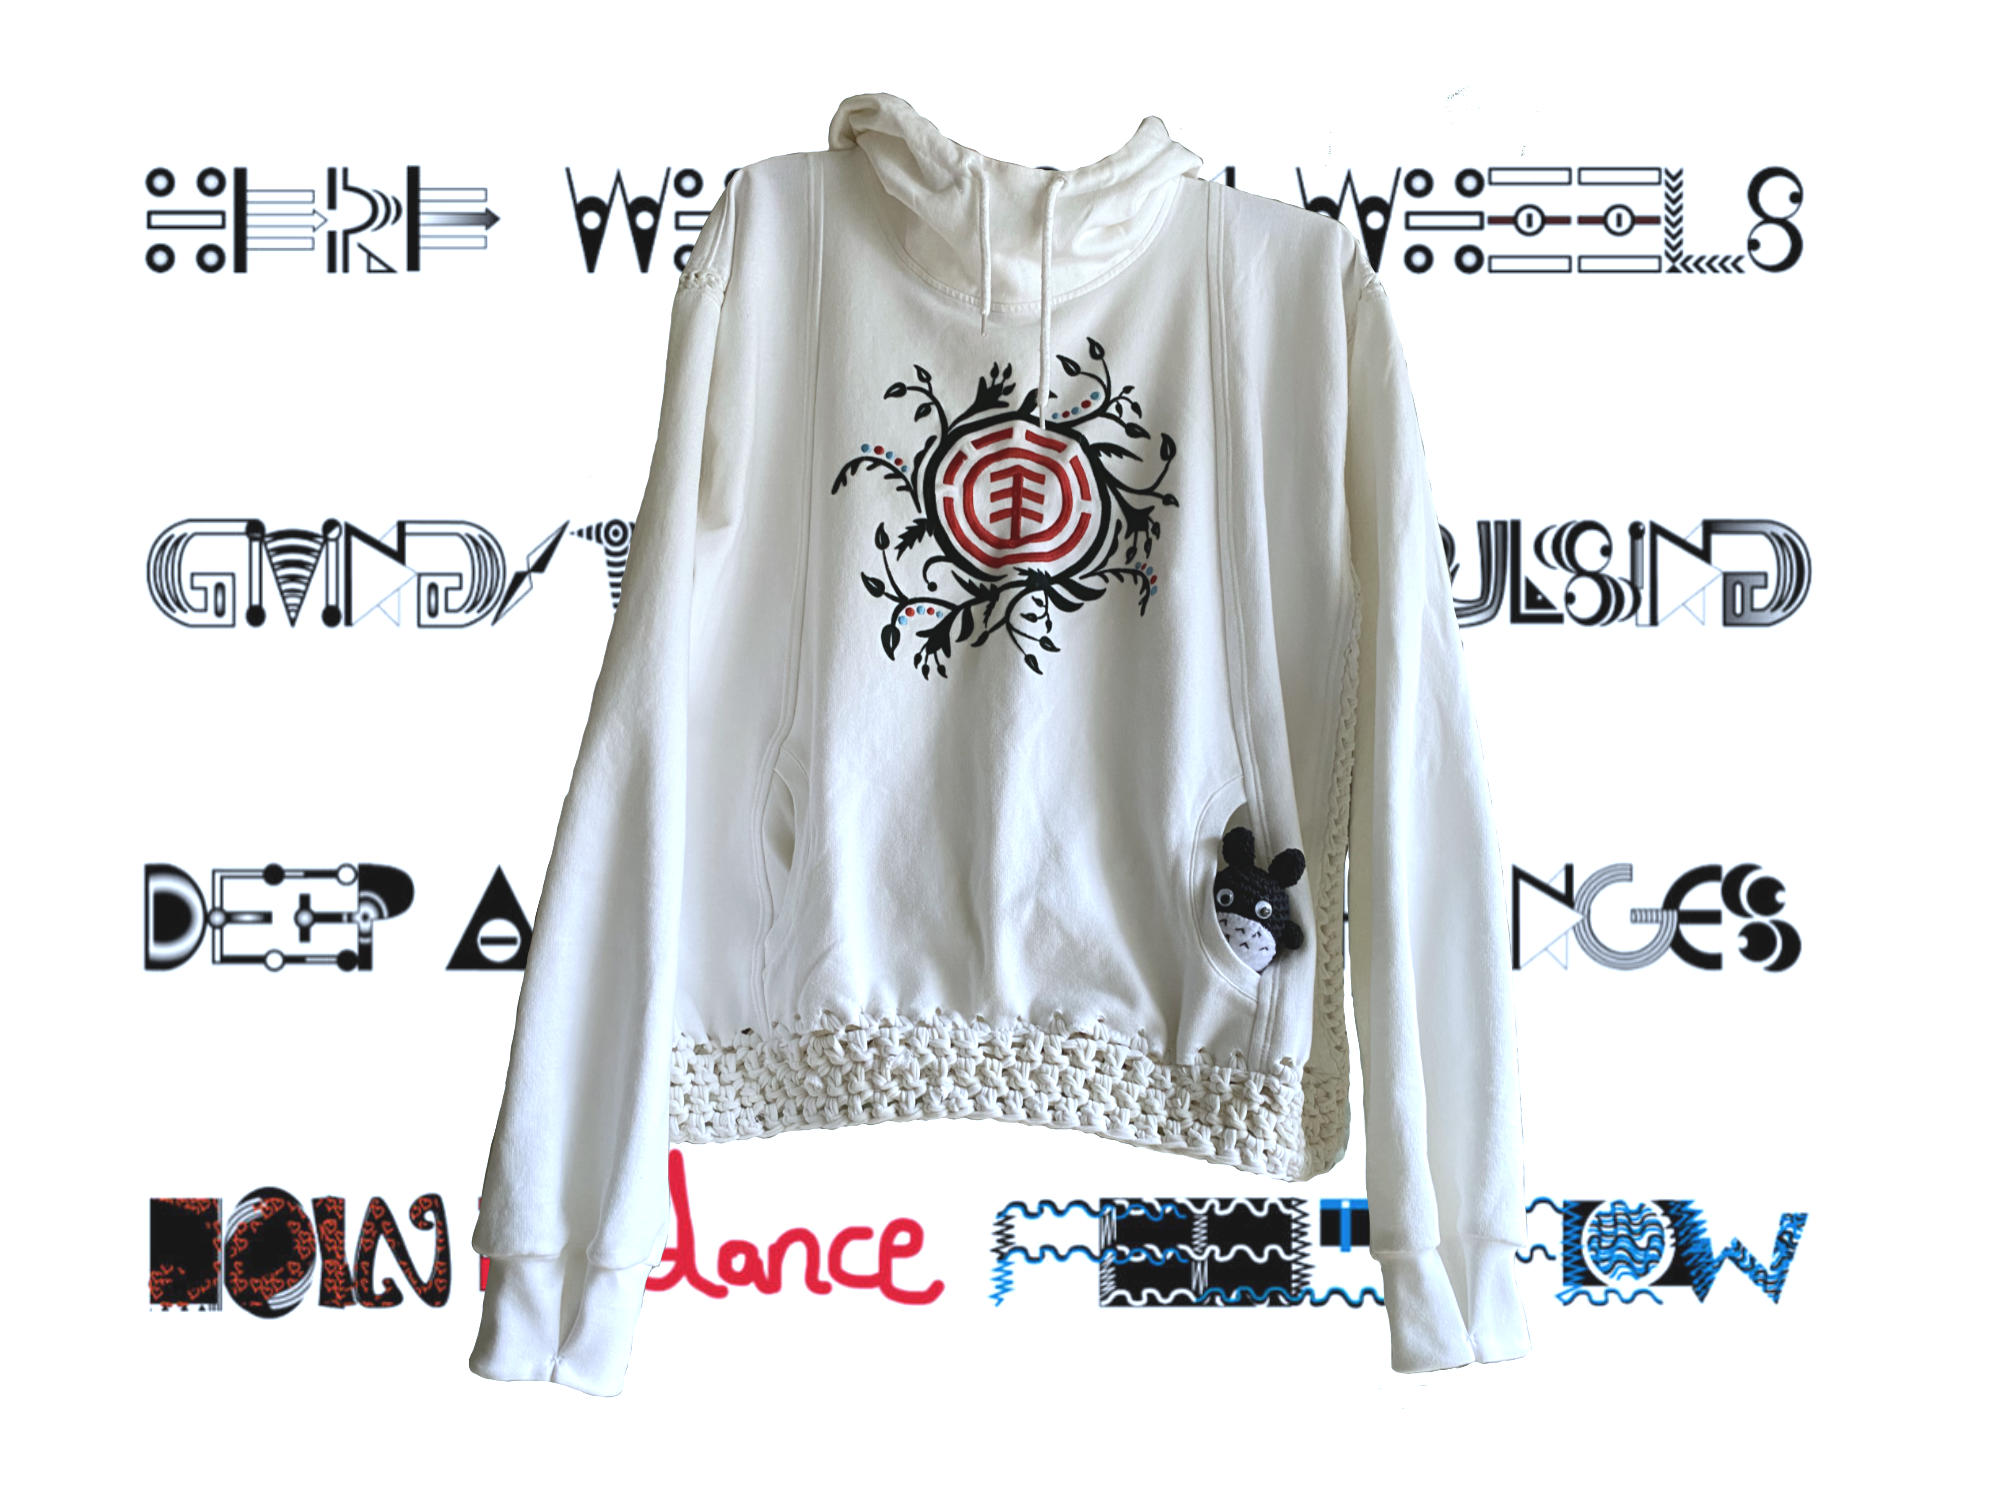
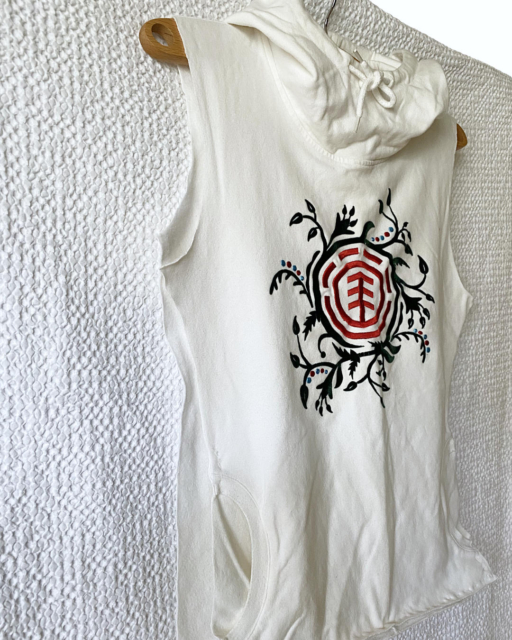
I confess: I am a passionate textiles collector: This hoodie lingers in my closet since 2005, it was a bit too small for me, but I loved the embroidered motif in the front, the soft jersey and the cute pocket-solution. And the colors red, white and black with sprinkles of blue.
About internal blockings
I told a friend lately, how immensely difficult it was for me to do the first cut into this sweater. Since many years I wanted to refashion it – but I were not able to start and cut into it. She asked: Why? Sometimes simple questions are the best. The answer was both simple and a bit embarrassing: As long as I did not start this project, I was safe. No danger of failing. No risks there.
But now the spell is broken – Tadaa, I cut it!

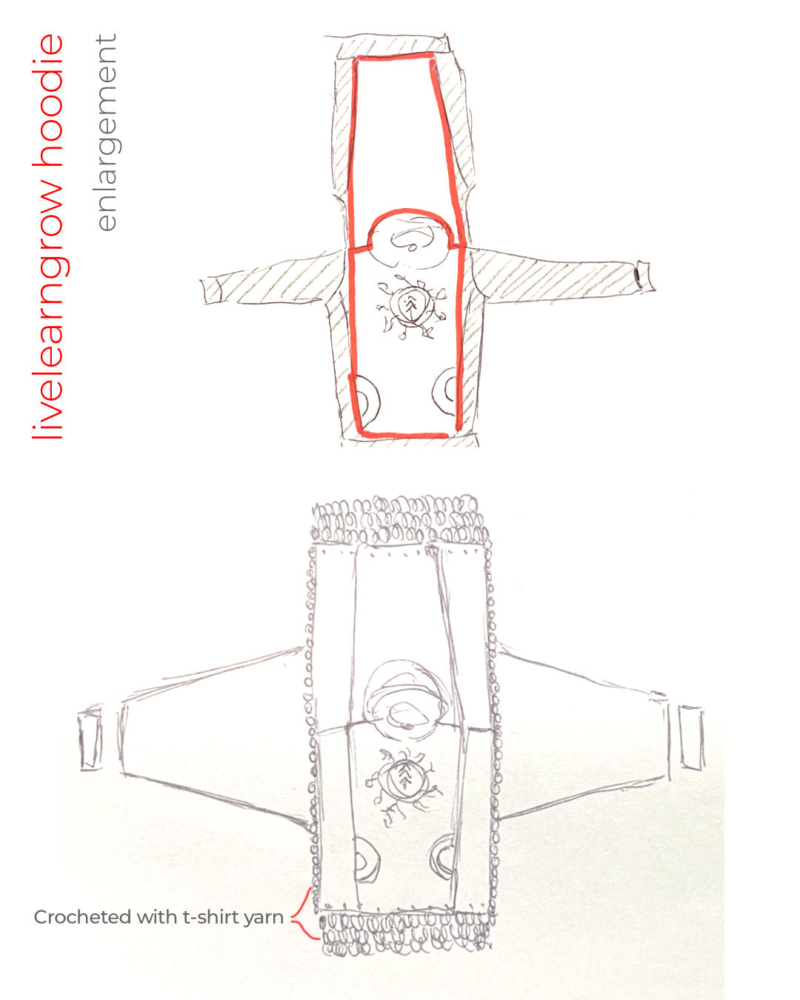
And this is my plan
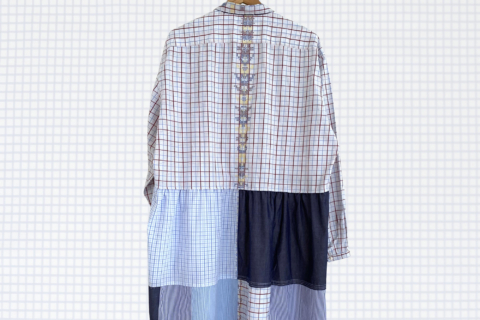
I will keep the center piece (front and back) with hood and front pockets and renew the side parts, the sleeves and the hemline.
How to sew jerseys with a basic sewing machine
Fortunately there was enough white sweat-jersey in my fabric stash for the side parts and the sleeves. This is one of the advantages of being a textiles collector 🙂

I am working with a very basic mechanical sewing machine, no overlock in da house yet.
To sew two pieces together, I used a subtle zigzag stitch: length 2.5 to 3 and width 0.5 – 1. Then I serged the sewing allowances with a simple zigzag stitch like full-width and length ~ 2.5. After I top-stitched the seam with a twin needle.
The twin needle was a real game changer for me, because the seams look beautiful and even professional after top-stitching them.
I learned to take care with sewing over too “high” parts of the seams: I broke 2 twin needles and they are definitely too expensive for that, sniff.
Choosing the right needles for jerseys
If you want to know more about the wizardry behind choosing the right sewing needle for jerseys and why it is so important, I recommend reading this article from Müller & Sohn.
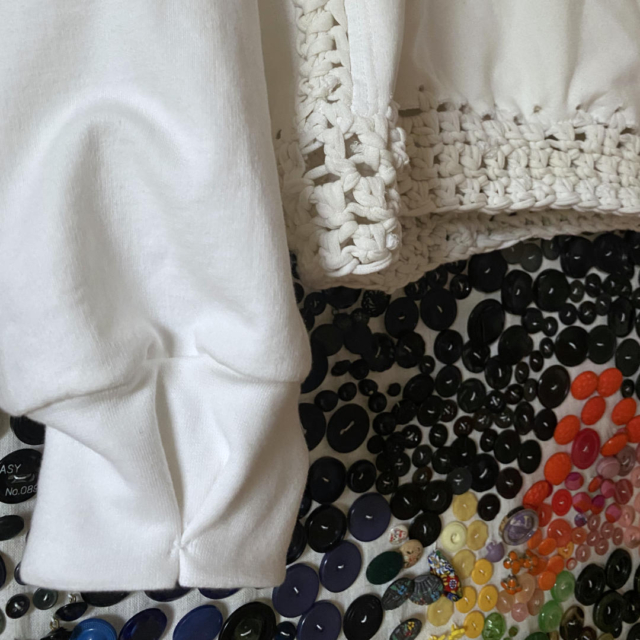
Using my self-made t-shirt yarn
As I was pondering over the solution for the side seams, I saw my crochet hook in the size of 12 mm. And I knew, I will connect the seams and the sleeves with crocheted pieces made with my white t-shirt yarn. The hemline will be crocheted too .
Here you find an instruction how to make t-shirt yarn.
How to best crochet with t-shirt yarn
I had to get used to work with this self made yarn. First I made two test runs to get used to it.
The yarn is made of very fine jersey and cut in the width of 1,5 cm / 0,6 inch. It is important, that it is not too heavy and too wide for being used in a garment.

Then I started with the row of chain stitches for connecting the side seams and the sleeves.
I attached the chain stitches with invisible hand stitches to the borders of the jumper.
To close the side seams I “wove” the two chain rows together with a piece of yarn. Suddenly the insert looked completely different, not like chain stitches anymore.
The crocheted hemline / waistband
At first I serged the hem with a zig zag seam and punched holes in the distance of 2 cm into the bottom border.
Before starting to crochet the waistband I stretched the yarn to become a little bit more like “real” thread.
The gauge and a test with a black stripe


Finally I chose to make a white-only border.
The first row consists of one or sometimes two single crochet stitch(es) in each hole.
After that I crocheted three rows of double crochet stitches.
The sleeves
I used the former cuffs from the jumper and turned it around, so the backside of the cuff is now the frontside, because it looks completely new.
To tighten the cuffs a bit, I fixed them with a cross stitch .
Et voilà, here is my new hoodie

The illustration behind the hoodie is even older than my intent to transform the jumper. I draw it in early 1999, while traveling with my techno tribe through Italy making free parties.
I found the words in a graphic novel, unfortunately I cannot remember anymore in which one, for this I cannot quote it here.
I was obsessed with this poem at that given time. Shortly after I returned to Austria and started another life. Where I stopped painting and sewing and began to learn computer graphics and coding.
Affix: An interesting label solution
There are these horrible instruction labels in garments, usually in the side seams. Which I mostly cut out immediately, because I hate the utilized scratchy material.
Which I should not do, because If the garment is donated later, this crucial information (size and material descriptions) is lost for the collectors or for the sorters in the recycling process.
So this integrated solution is really smart. Nobody will cut it out:

A cotton label with the brand name, material description, washing instructions and the size of the garment is part of the jumper.
I also like this mix of the general label and the care label.
Conclusion
Refashioning this hoodie was a real adventure for me, I had to enter unknown territories. Pure excitement. Insecurities in between. Surprises. Bliss. Definitely a diverse experience and a result I am proud of.
Read more about Using restrictions as creative booster.